Product Update: Better Image Editing 🚀
Written by Jim Raptis
Sep 1, 2022
.webp?table=block&id=78980c8a-7e49-42ca-be4f-5c3c75e4dd38&cache=v2)
I’m thrilled to introduce you to a couple of new features that are gonna upgrade your image editing experience with BrandBird.
Fully customizable image layers (resize & drag-n-drop) with individual image effects & mockups was one of the most frequent BrandBird feature request. And it’s finally here 🥳
A quick heads up about the new features that are available on BrandBird before we analyze each of them in depth:
- 🌅 Two image types: Layout & Annotation images
- ✨ Apply individual effects & styles on images
- 💻 Enhanced Safari mockup
- 👀 Toggle visibility for annotation layers
Let’s dive in!
🧠 Understand the two BrandBird image types
To avoid confusion, mostly for old users, I’ll explain briefly the two image types that are available on BrandBird, and their recommended usage:
1. Layout Images
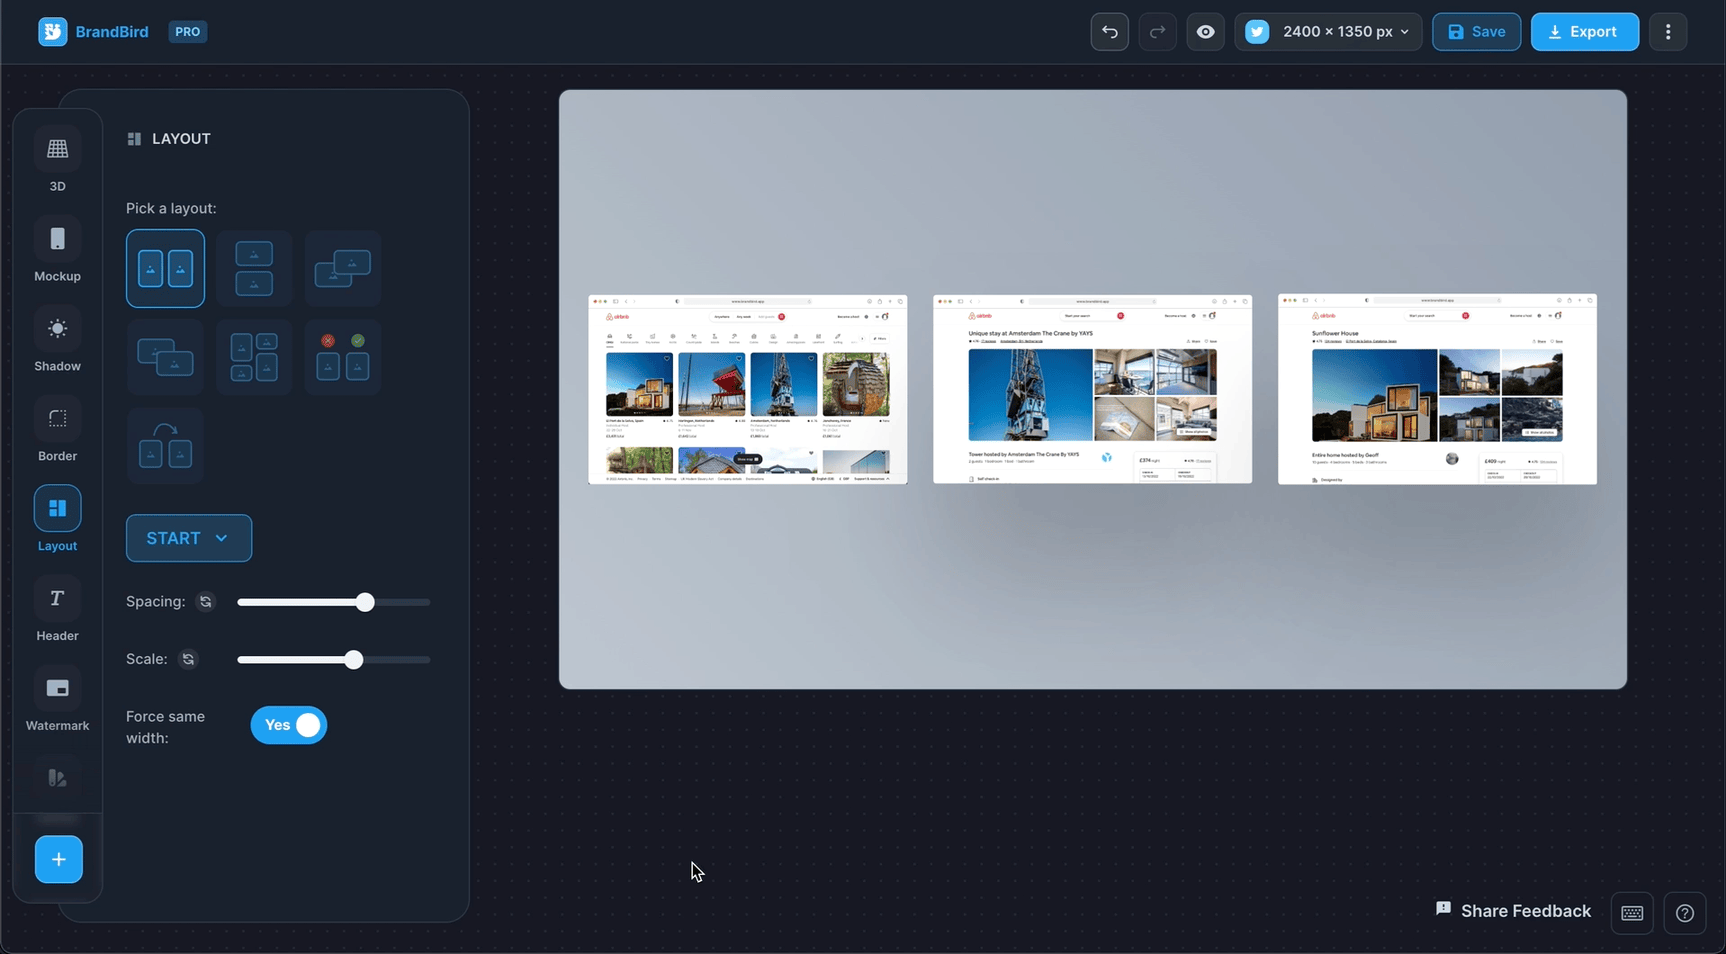
These images are part of a pre-defined layout which means that there are organized in a specific way and you can’t resize & drag-n-drop them freely. You have to use the Position menu and the scale slider to adjust their position & size.
Essentially it’s the way that BrandBird used to work until now.
2. Annotation Images (resizable)
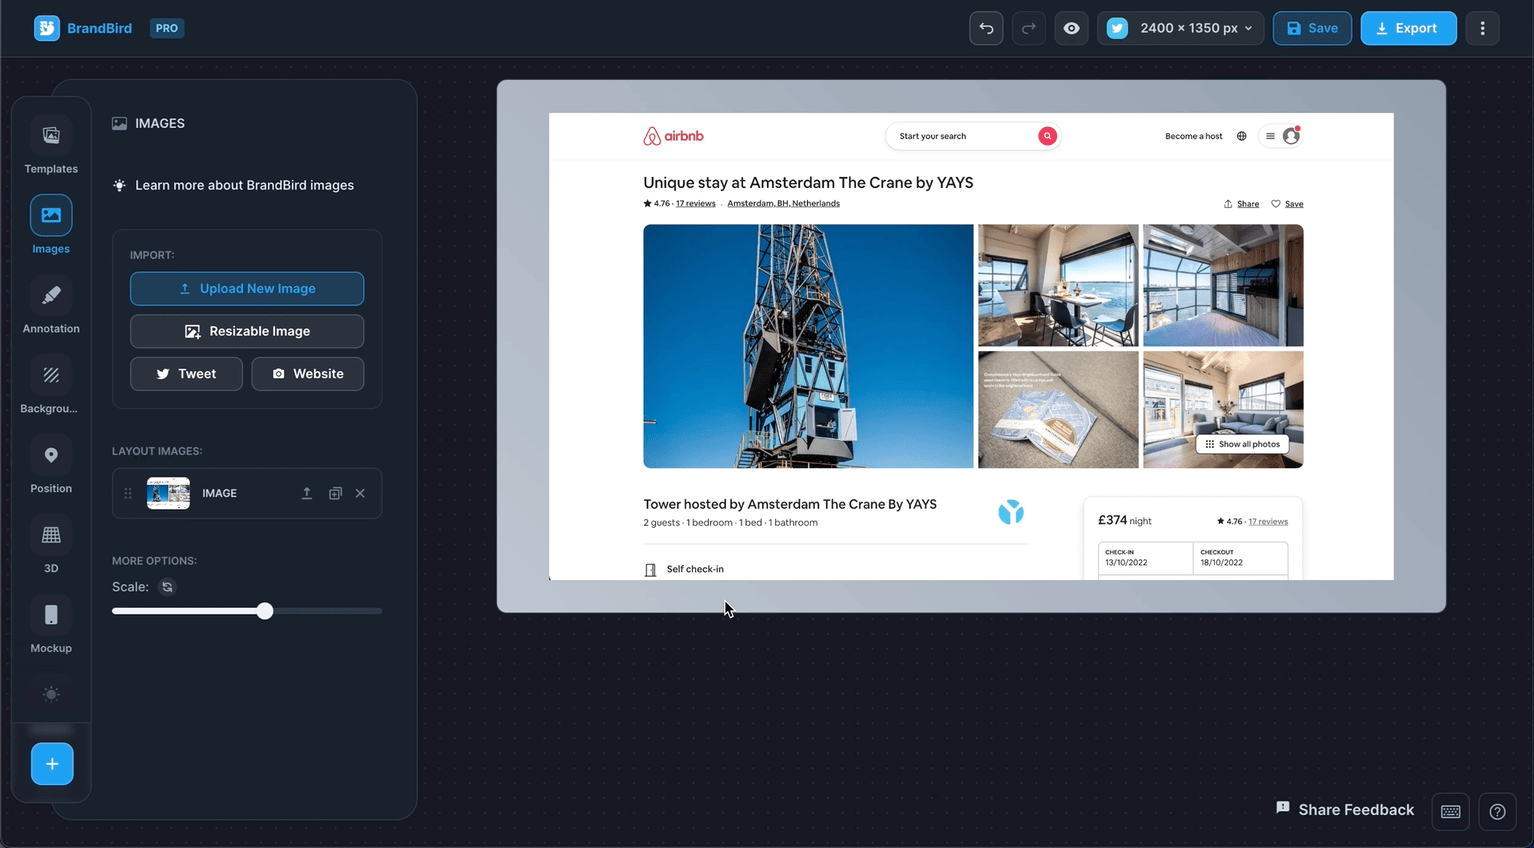
The annotation images are layers that you can resize and freely drag-n-drop around your canvas.
They allow you to have more freedom over the position & size of your images yet you’re able to apply the same effects as layout images.
Mockups, shadows, borders, and 3D effects are available for annotation images as well!
🔄 Convert Layout images to annotation layers (and the opposite)
To boost your productivity, you’re able to convert a Layout Image to an Annotation Image Layer, and the opposite.
It’s useful when you have organized your images in a layout, but you want to change the position for one of them.
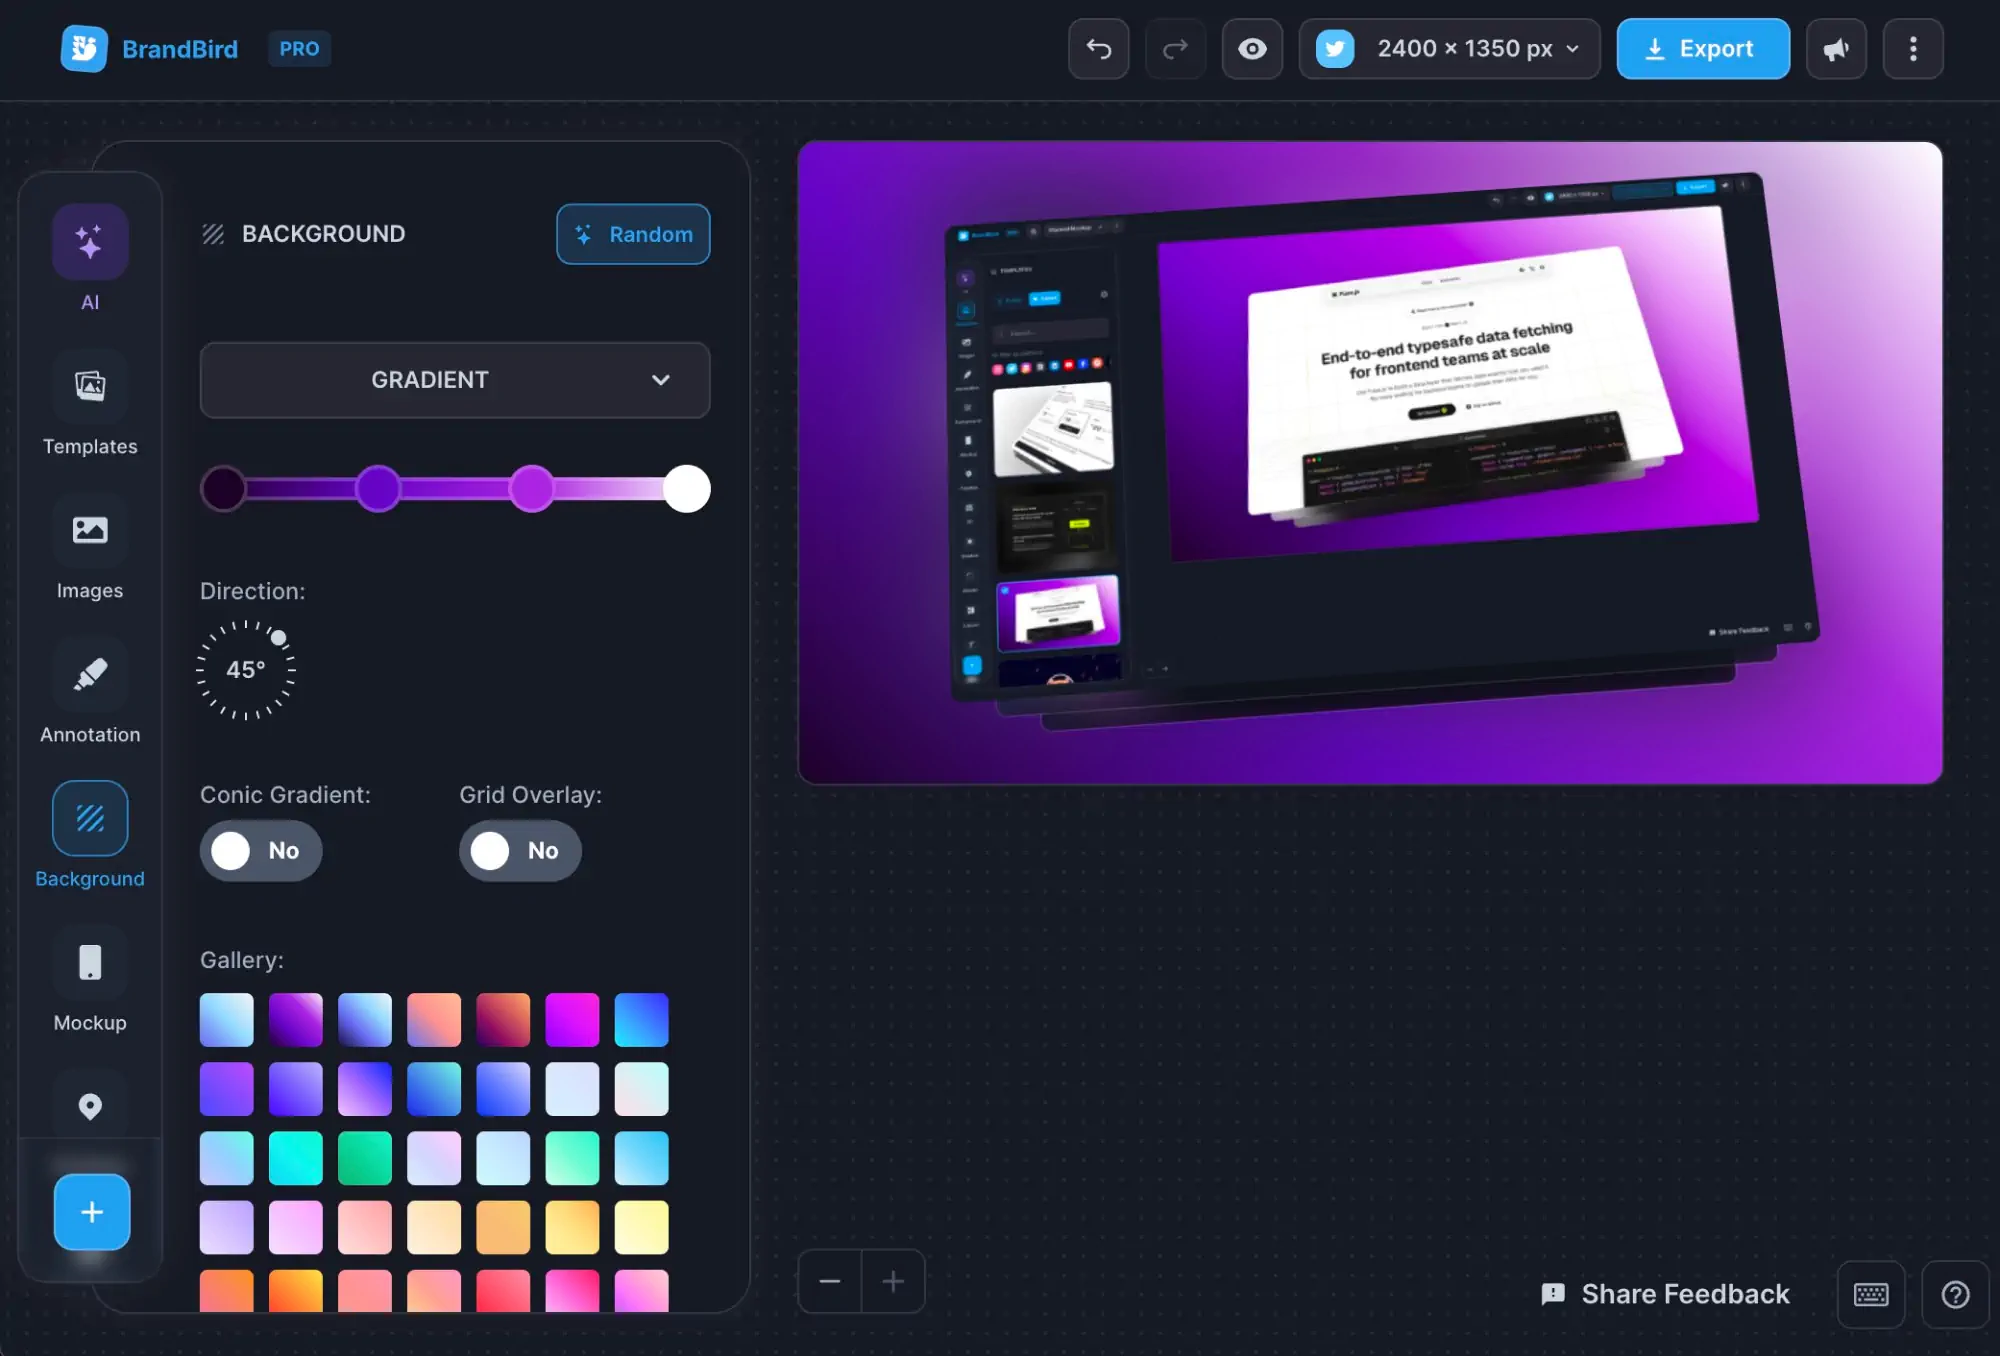
🚀 Individual image effect

Till now all the image effect (mockups, borders, shadows, and 3D effects) used to apply to all your images, and you weren’t able to customize them per individual image.
Now, you can pick any image & apply custom effects. It might sound like a boring addition but it’s not. Let’s see a few practical use cases for it:
.png?table=block&id=3eeb4264-081e-49d8-b6fb-74ffdb195590&cache=v2)
.png?table=block&id=64edbf85-0ee8-4971-952b-97c862915d01&cache=v2)
.png?table=block&id=ac15d8a4-d04a-48bd-a3a5-05ab533ee992&cache=v2)
.png?table=block&id=442974eb-3217-4db2-bfa8-c828f1eb05df&cache=v2)
💻 New Safari mockup
The Safari mockup allows you to customize its website URL and add your own product’s domain. A little detail that makes your graphics look more professional and boosts brand awareness.
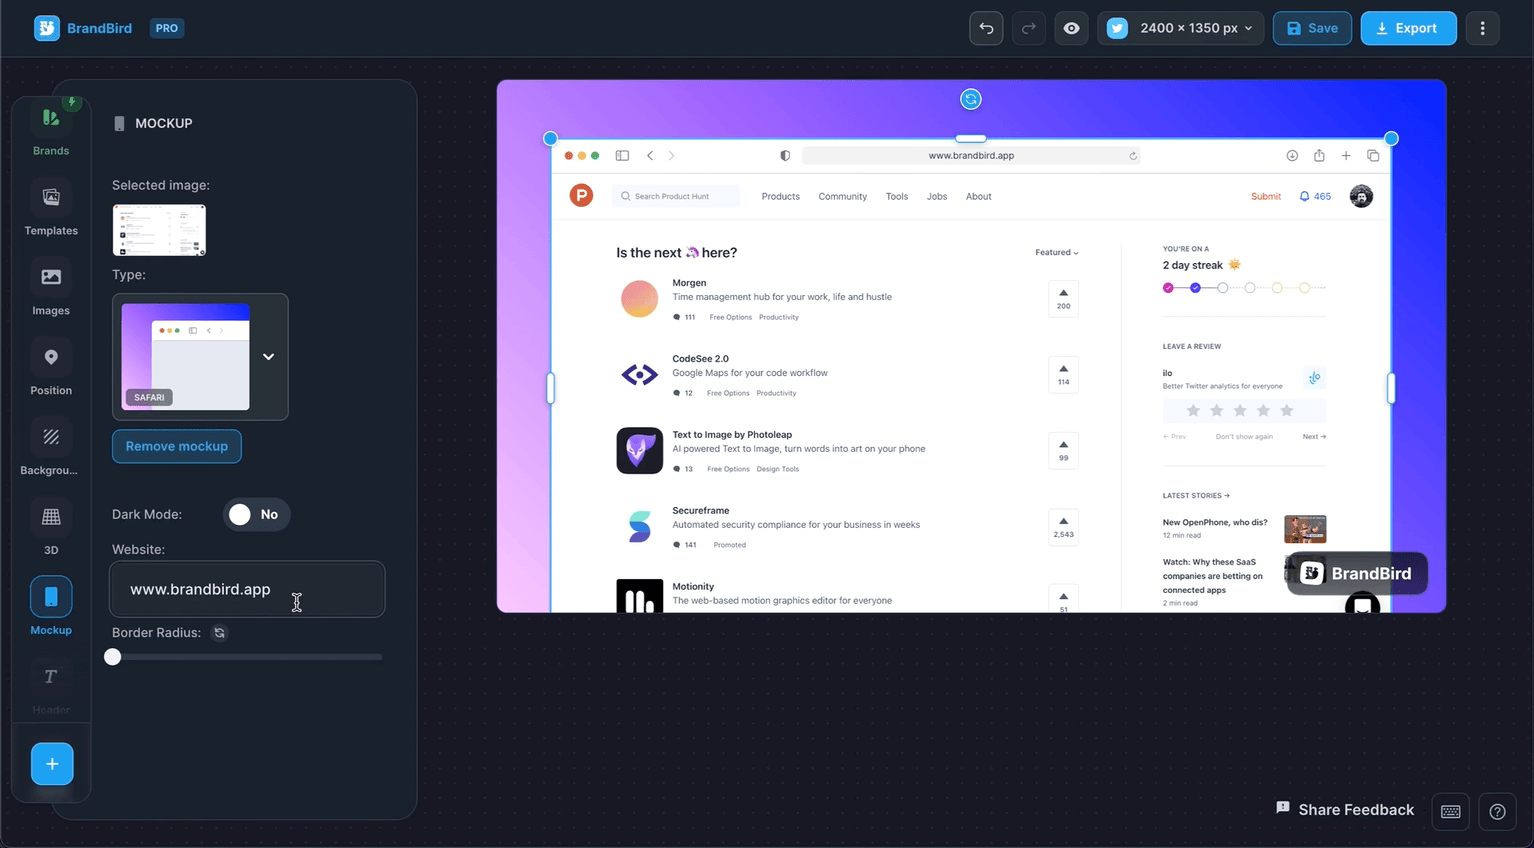
In addition to this, I’ve fixed the issue with cropping long images to the default browser height. So now you’re able to use the Safari mockup regardless of the image’s height.
👀 Hide annotation layer
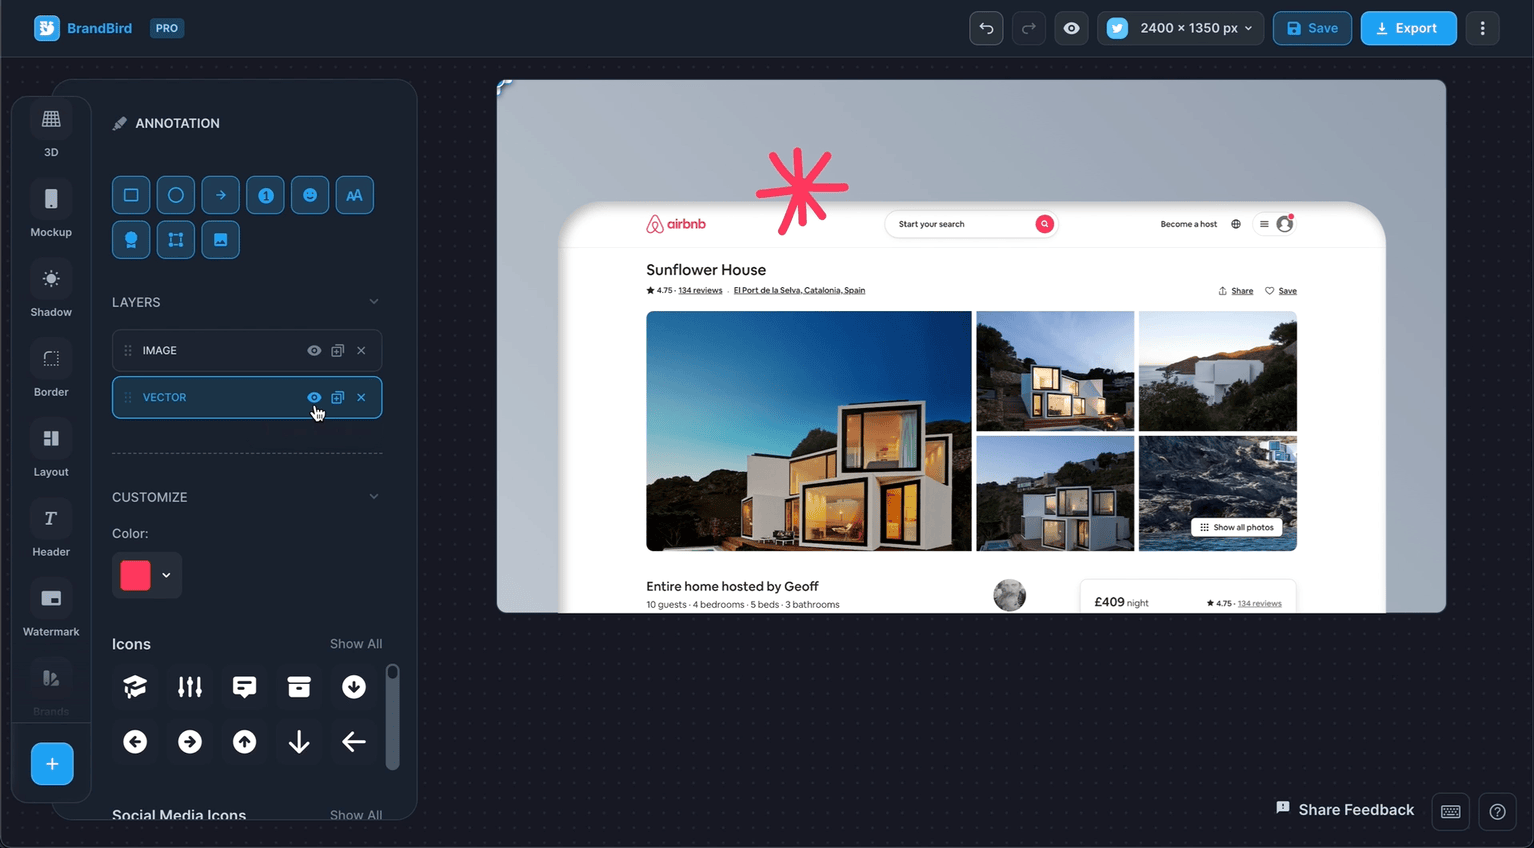
Now, you’re able to hide & show annotation layers by simply hitting a button.
It’s a useful feature in case you want to temporarily hide an annotation layer without deleting it.
That’s all for now. Stay tuned for more 🔥 features in the future!